Calibration & filming best practice
Cones, camera distance, and the small habits that make your measurements accurate — and repeatable.
Accurate metrics start with accurate calibration. TrackStat needs to know real-world distances in the frame so it can turn pixels into metres. Get the cones and the camera right, and everything downstream — step length, velocity, the lot — is trustworthy.
Lay out your reference markers
TrackStat calibrates from known distances in the frame, so it needs clear, fixed markers along the lane. Two things matter: use enough of them, and make each one small and precise. More references = more accurate calibration:
- 4 markers — the workable minimum.
- 6 markers — better.
- A marker every metre — best, especially over the zone you care about.
Small markers beat big cones
Tall witch’s-hat cones are the obvious choice, but they’re the wrong one. They get knocked over, they sit in the athlete’s way, and their wide sloping sides give you no single point to click on — the base, the tip and the middle are all “the cone”, and they’re tens of centimetres apart. That ambiguity goes straight into your calibration.
What you want is a small marker with a clear point to aim your crosshair at. We use two.
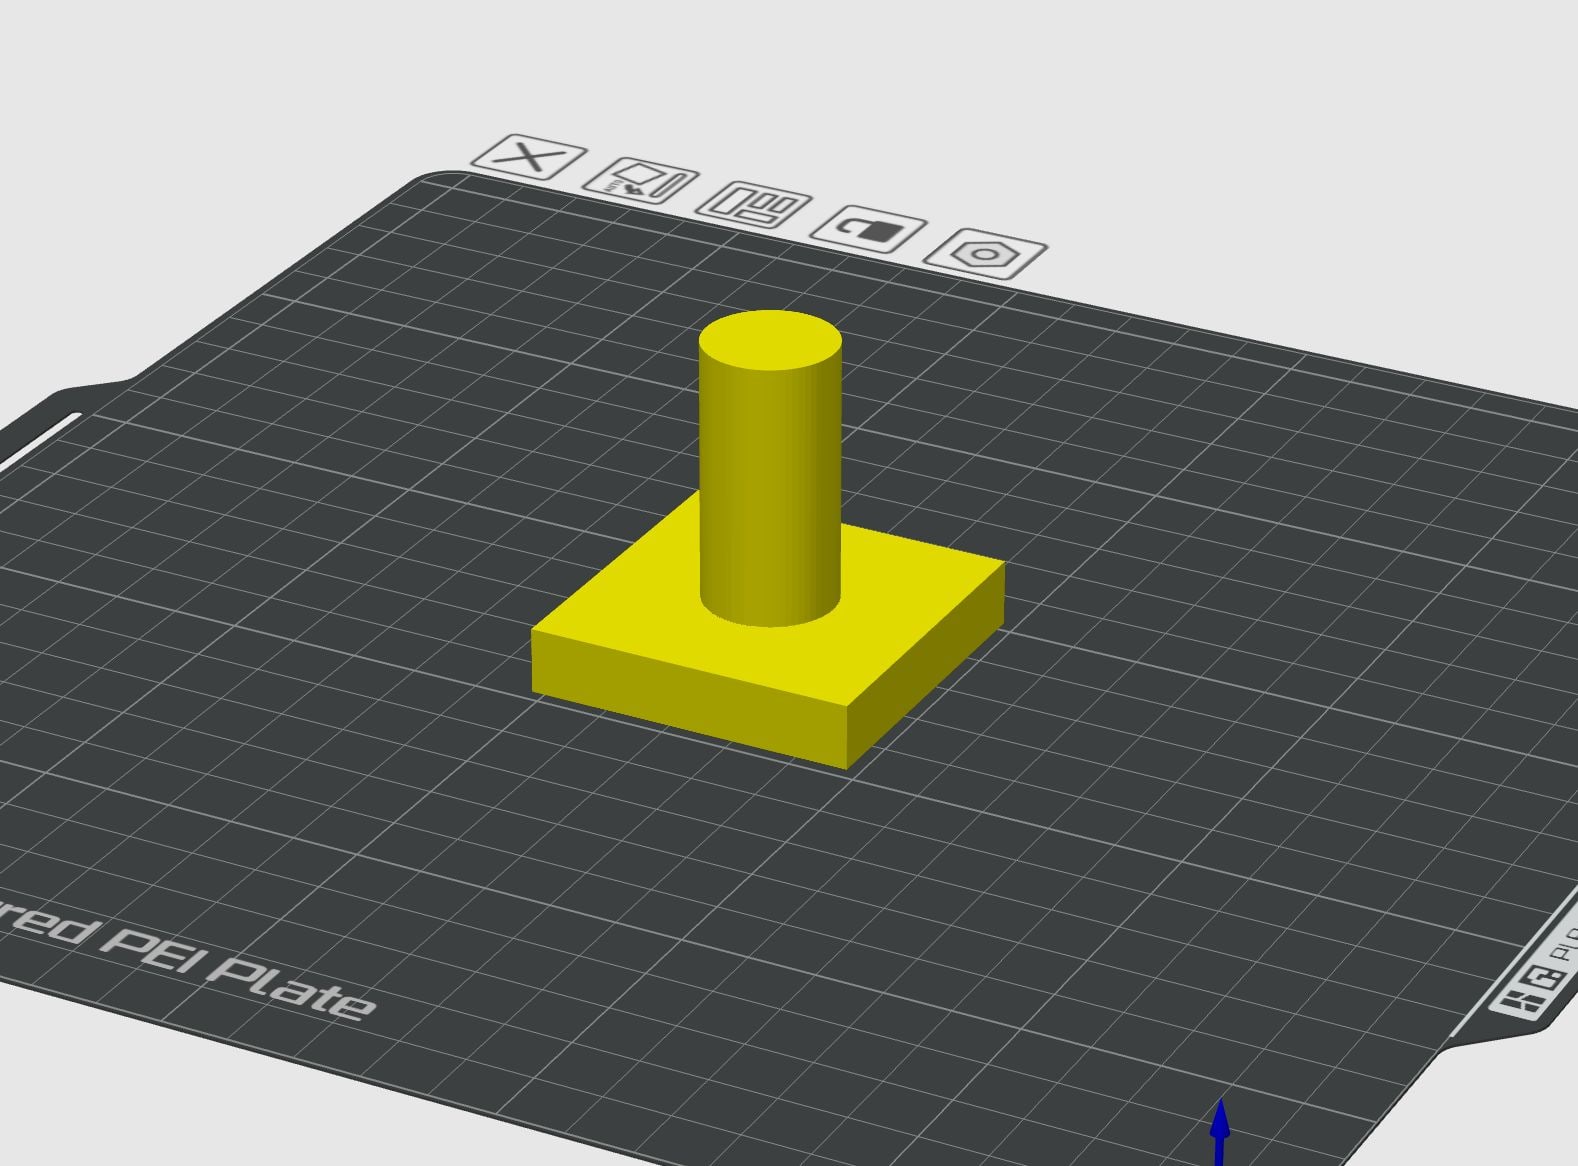
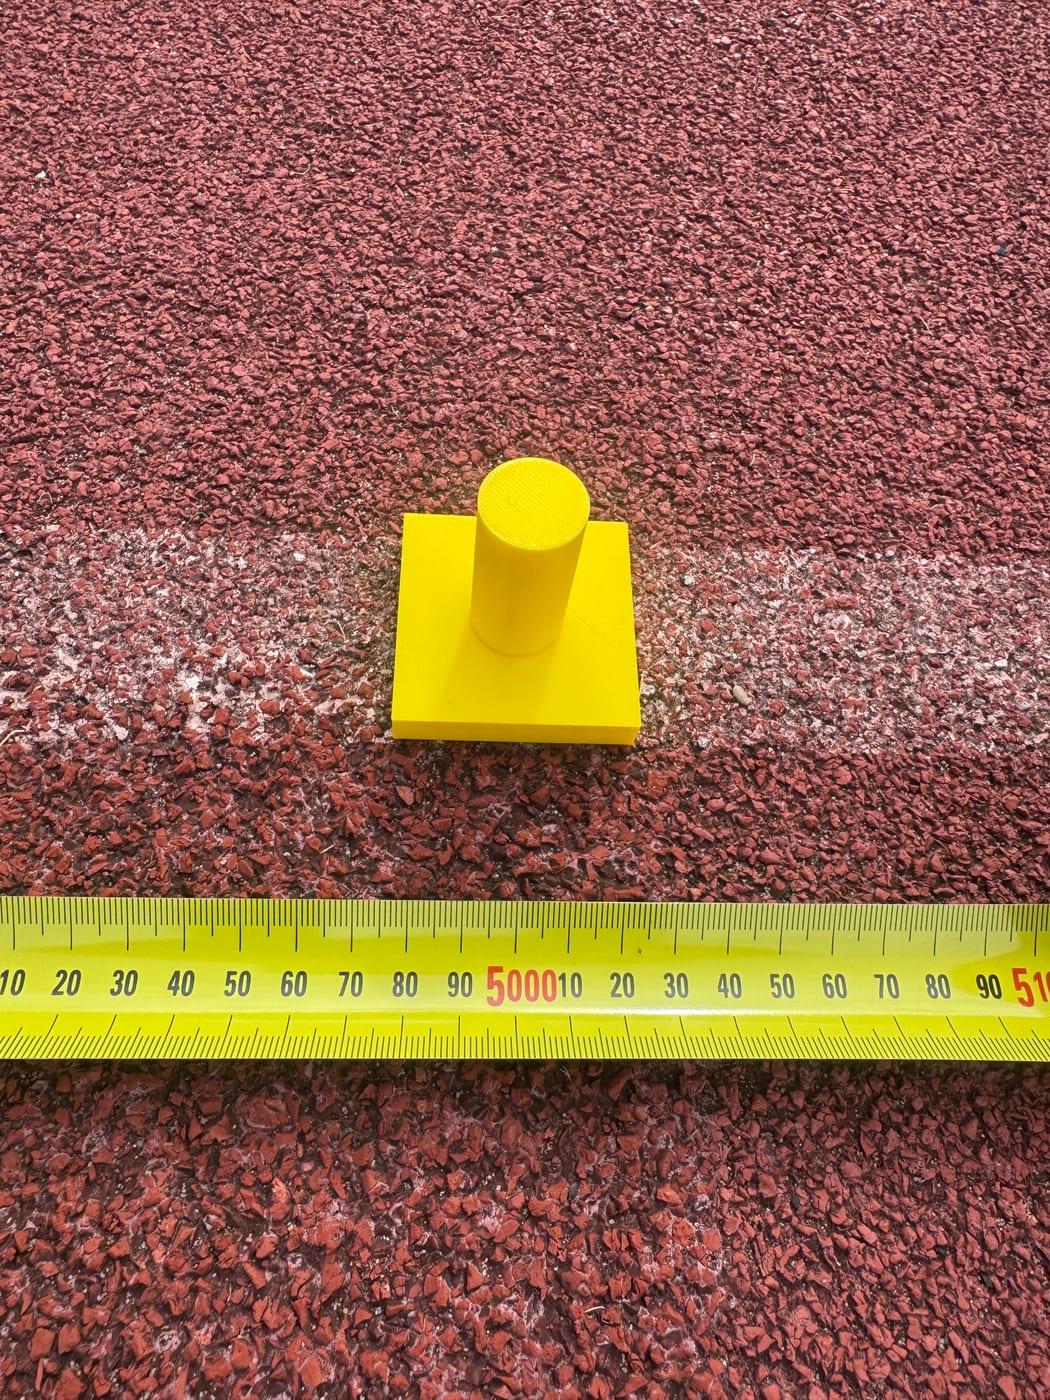
Our calibration cone. A tiny printed marker — a square base with a vertical post. The footprint is small enough to sit right on the lane without getting in anyone’s way, and the straight post gives your crosshair a clean vertical line (and sharp base corners) to lock onto every rep. Print your own set with the file below.
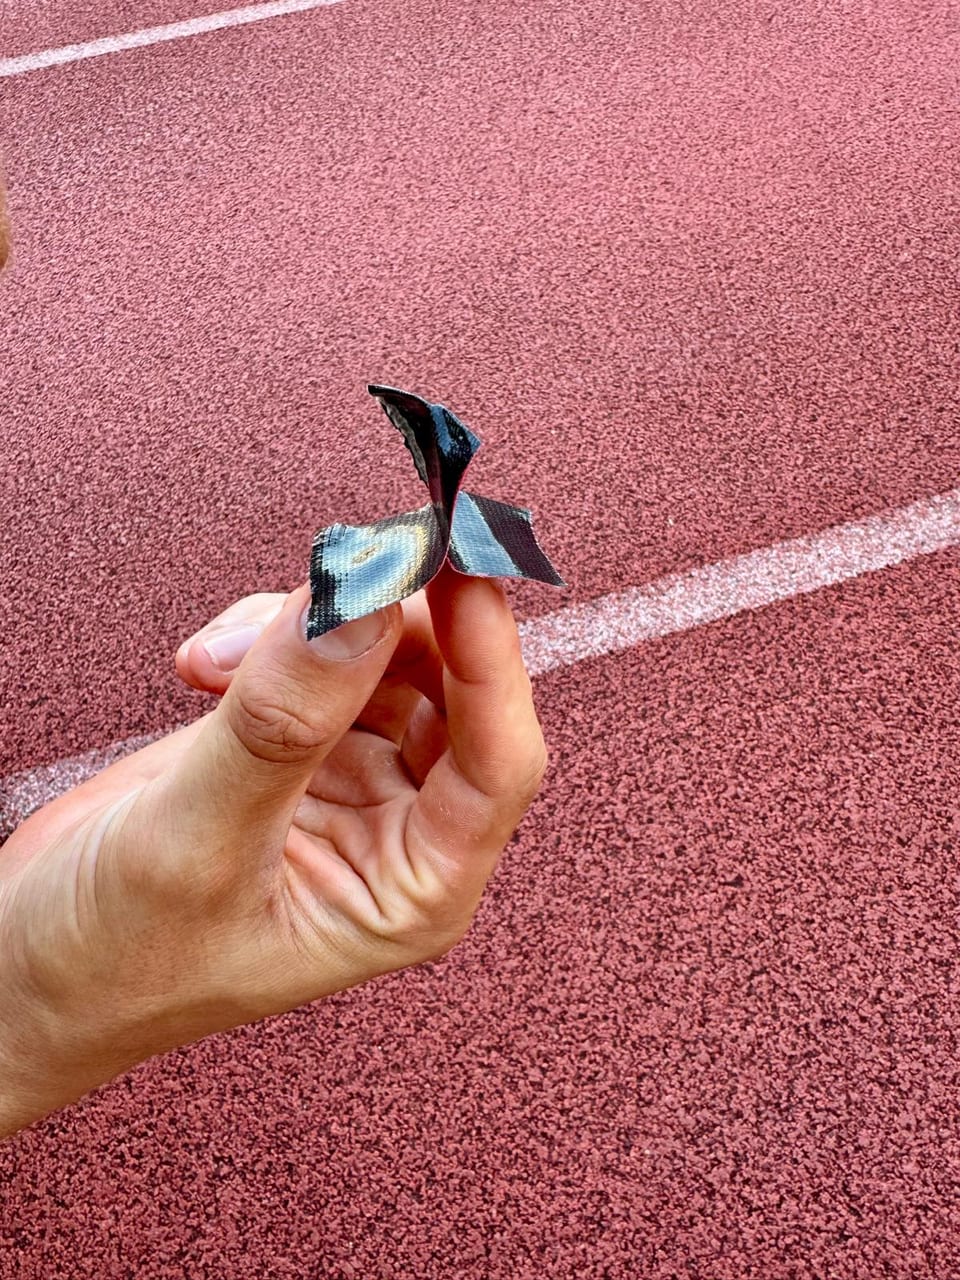
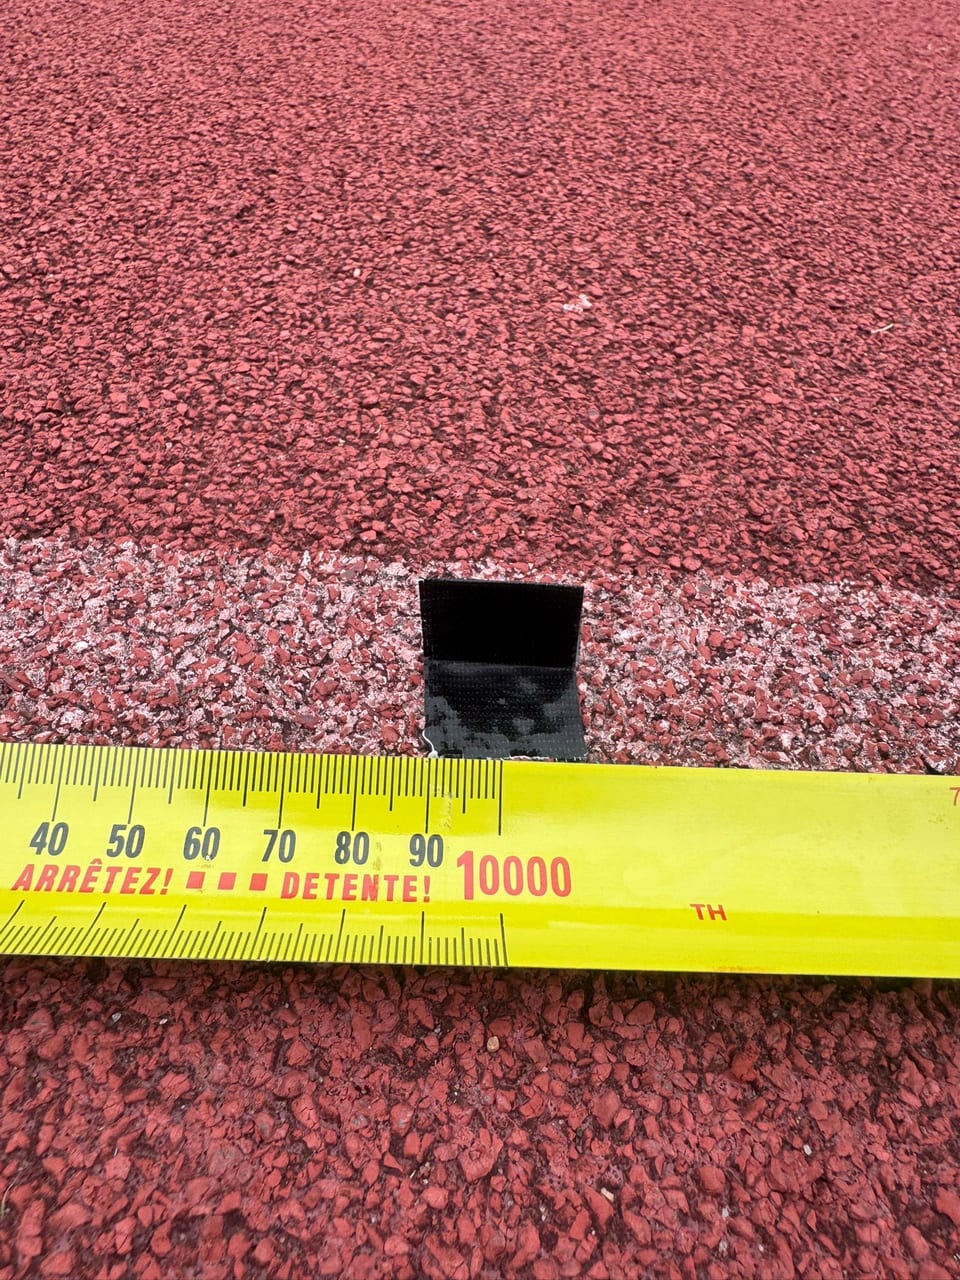
Tape. Even simpler, and our favourite for busy sessions: a short strip of tape. It can’t be kicked over, doesn’t get in the athlete’s way, and costs nothing. Fold a strip into a little stand-up tab so it’s easy to see, or lay it flat right on the lane line.
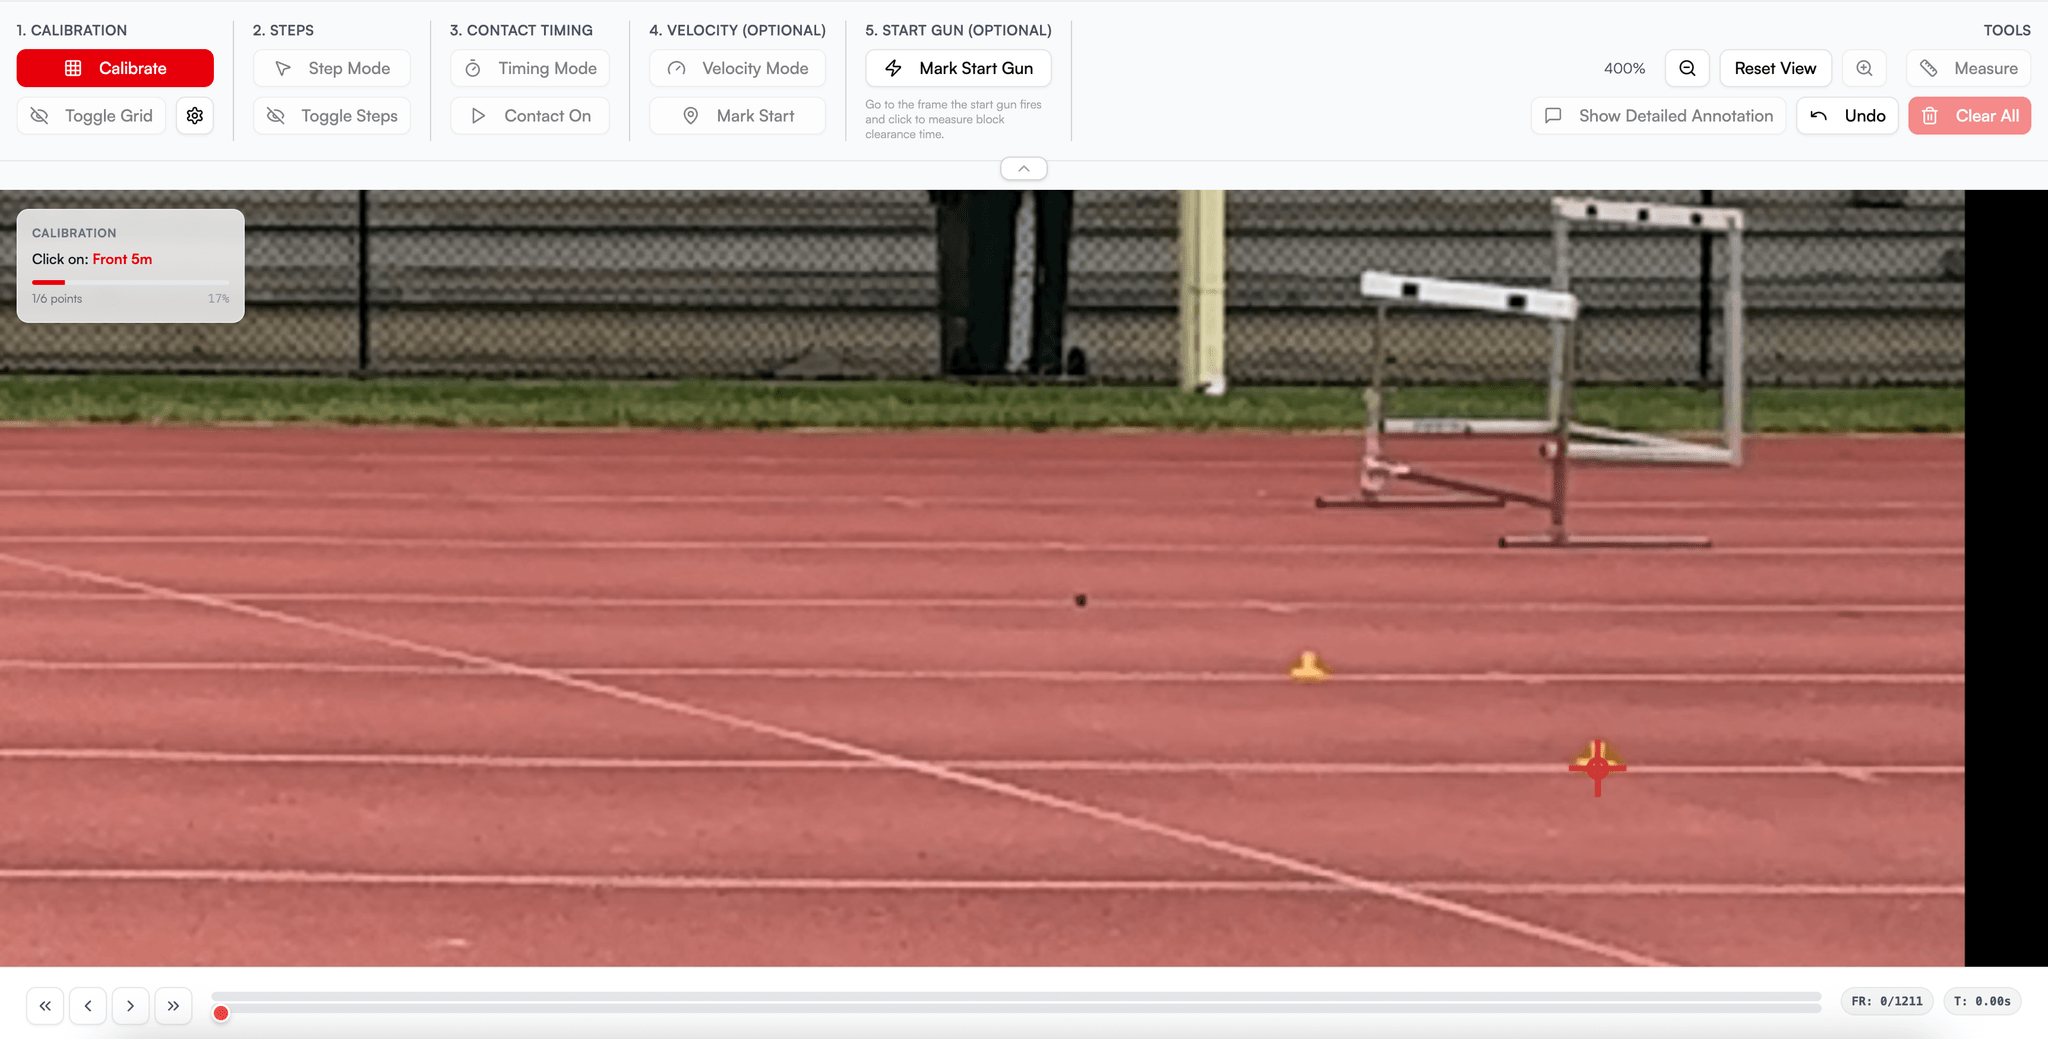
Click the base of the cone
With your markers down, calibrating in TrackStat takes seconds. The app prompts you for each reference in turn — the panel tells you which one to click (“Front 5m”, say) — and the only thing that matters is clicking the same part of every cone, every time.
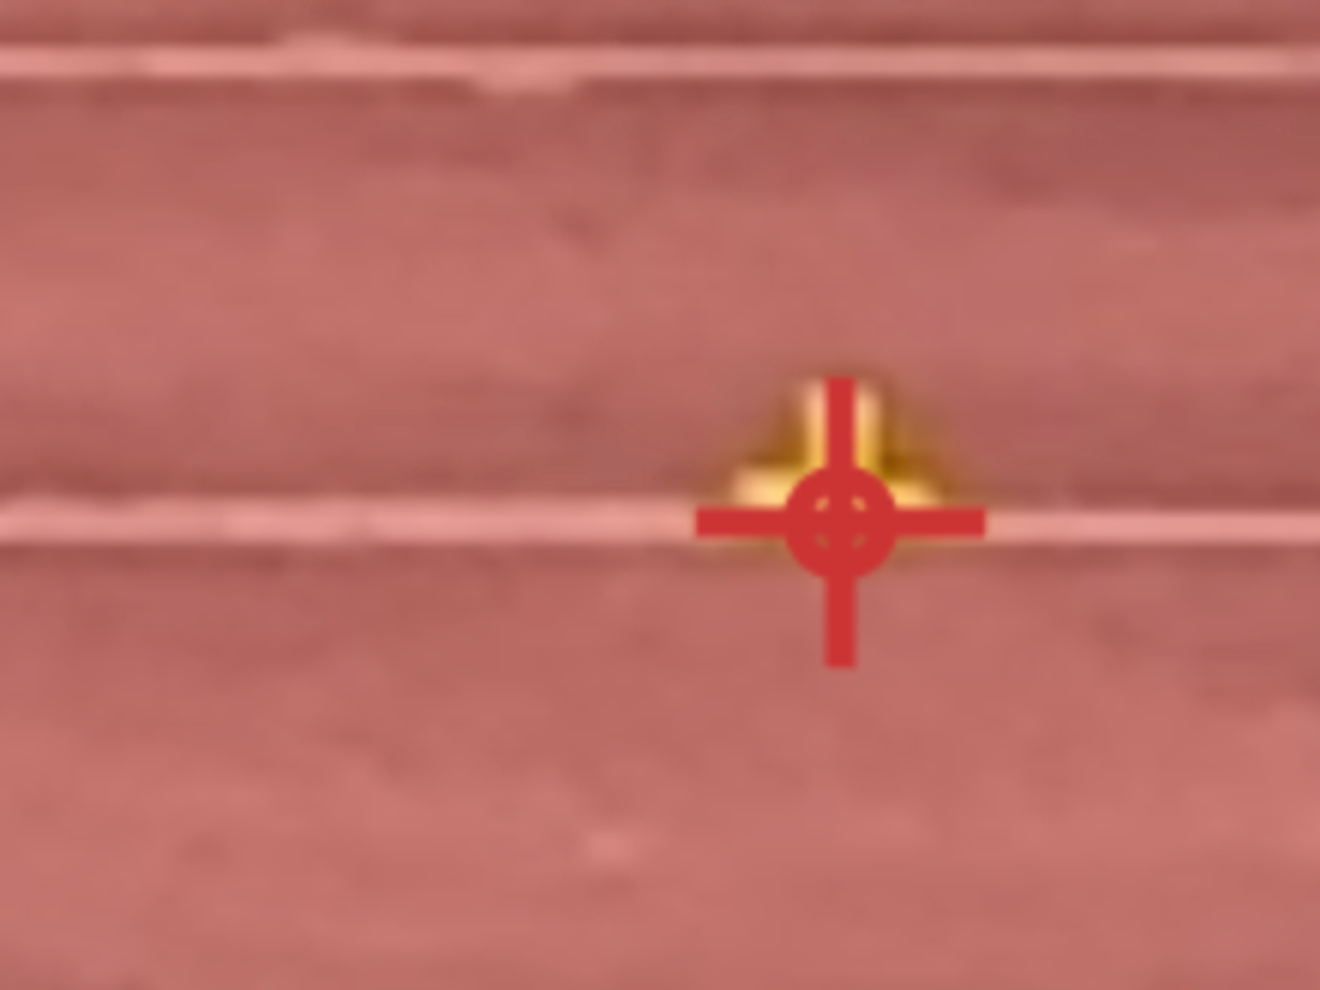
Aim for the base of the cone, dead centre:
- Sit the horizontal line of the crosshair on the bottom of the cone, right where it meets the lane.
- Run the vertical line straight down the middle of the cone.
That bottom-centre point is where the cone actually touches the track — the same real-world spot in every clip. Click it cleanly and consistently, and every distance TrackStat derives is built on solid ground.
Camera distance
These distances are for filming a ~10 m segment — the stretch you want to measure. How far back you set the camera depends on your device and lens:
| Device | Setting | Distance back |
|---|---|---|
| GoPro | Wide | ~5 m |
| iPhone | 240fps, landscape | ~8 m |
A GoPro can sit closer — around 5 m — thanks to its wide lens. An iPhone at 240fps in landscape needs to be a little further back, around 8 m, to keep the full segment in frame. Set up at that distance, frame the zone you care about, and you’ll capture the whole 10 m cleanly.
The copy/paste calibration trick
Here’s a real time-saver: if the camera doesn’t move between reps, you only need to calibrate once. TrackStat lets you copy the calibration from one video and paste it onto the next — so a whole session filmed from a fixed camera can reuse the same reference setup. No re-marking cones every clip.
The catch: it only works if the camera genuinely hasn’t moved. Which brings us to the most important habit of all.
Don’t bump the camera
A bumped camera quietly ruins calibration — the references no longer line up with reality, and you won’t always notice until the numbers look off.
- Use a stable tripod and don’t lean on or nudge it.
- Avoid pressing the screen to start/stop between reps if it shifts the camera — that little bump is enough.
- Better still: start recording early, before the athlete is in frame, and trim the clip later. That way you’re not touching the camera at the critical moment.
Quick checklist
- Small markers — printed cone or tape, not big cones; 4 min, 6 better, every metre best
- Click the base of each cone, dead centre — horizontal line on the bottom, vertical up the middle, same spot every time
- Camera distance set — ~5 m GoPro, ~8 m iPhone (240fps, landscape) for a 10 m segment
- Stable tripod, no bumping
- Record early, trim later — don’t touch the camera mid-session
- Fixed camera? Copy/paste the calibration to save time
Spend five minutes on this at the start of a session and you’ll trust every number that comes out of it.